



Winter 2026 Workplace Safety Checklist: Prevent Slips, Trips, and Falls
The average slip-and-fall claim costs $64,000. Most of them happen in the 10-minute window between when conditions change and when your team responds - early morning, overnight, or during an unexpected temperature drop that no one caught.
Winter 2026 is approaching. Here’s how to close that gap before the first freeze arrives.
1. Walk Your Property Now
Don’t wait for ice to discover where it forms. Walk every exterior access point while conditions are dry and make a list of your highest-risk zones:
- Loading docks and dock approaches
- Parking lot entrances and pedestrian crossings
- Building entry and exit doors
- Outdoor stairways, ramps, and elevated walkways
- Emergency exits that may go unchecked for days at a time
Pay attention to areas that drain poorly, sit in the shade most of the day, or see heavy foot traffic in early morning hours. Those are where claims happen.
Not sure how many signs you need or where to place them? Use our free Site Design Tool at design.icealert.com - enter your facility address and it walks you through each zone and gives you a recommended sign count in minutes.
2. Install Visible, Condition-Responsive Warning Signs
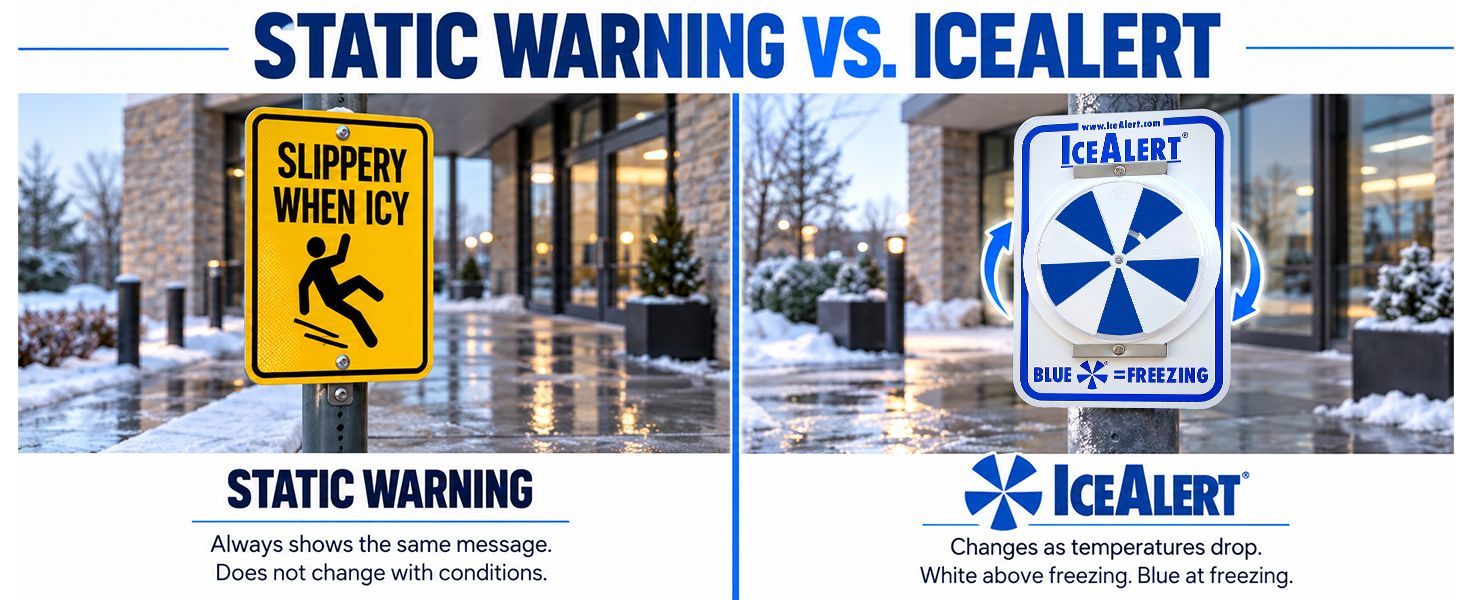
Static “caution” signs that display the same message year-round stop getting noticed by December. The warning needs to be visible, and it needs to mean something.
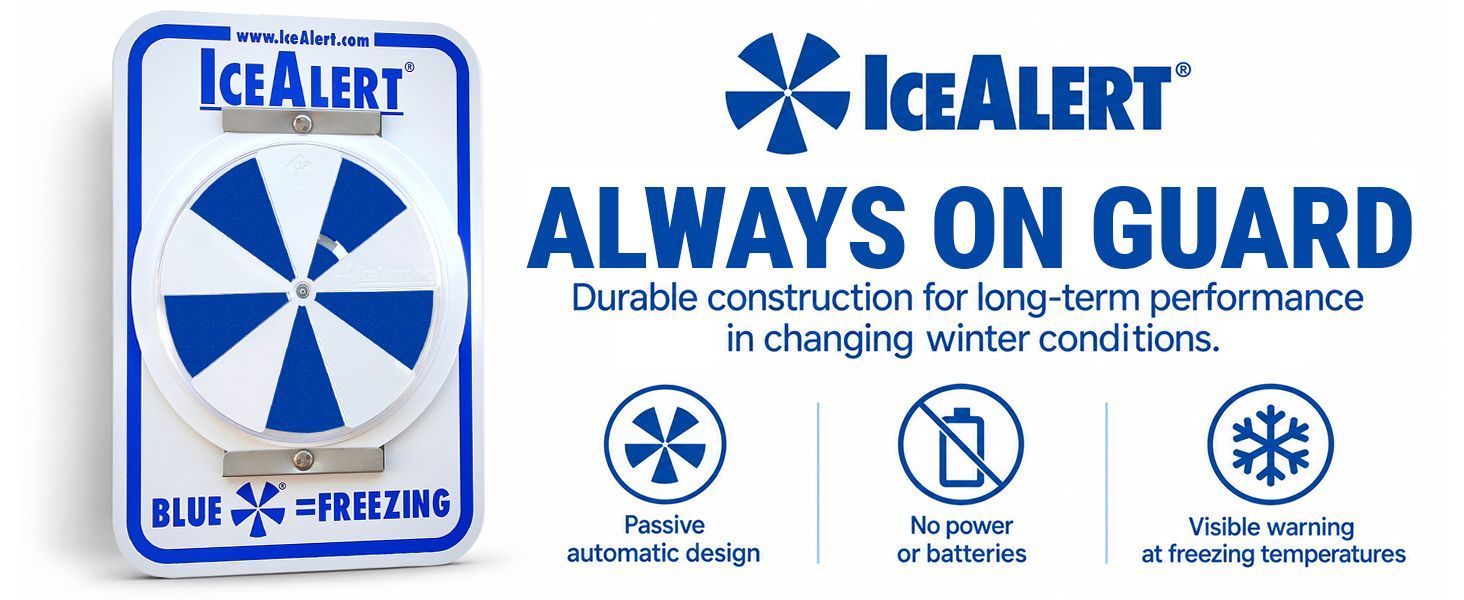
IceAlert® signs change color from white to blue as temperatures approach freezing - mounted permanently at building exits, they give employees and visitors a clear visual warning at exactly the moment they need it. No power, no batteries, no maintenance required.
Place them at:
- Every exterior door that sees regular foot traffic
- Loading dock entries and exits
- Parking lot access points
- Outdoor stairways and ramp entries
- Any path where pedestrians transition from a heated interior to outdoor conditions
For facilities with multiple locations or a branded safety program, custom logo IceAlert® signs are available - the same passive, permanent protection with your organization’s branding.
3. Build a Snow and Ice Removal Protocol - Before You Need It
The time to write your ice removal plan is not during the first storm. Assign responsibility now:
- Who pre-treats surfaces before freezing rain or overnight temperature drops?
- What triggers a re-treatment call during the day?
- Who is responsible for high-traffic areas on weekends and holidays?
- Where are your salt/ice melt supplies stored, and are they stocked?
Gaps in the protocol - coverage that stops at shift change, areas that get missed on weekends - are gaps in your liability defense. A jury doesn’t distinguish between a protocol that failed and no protocol at all.
4. Train Employees Before the Season Starts
A 15-minute seasonal refresher before the first cold snap is worth more than a training document filed away in October. Cover:
- How to identify and report hazardous conditions
- Appropriate footwear for winter conditions
- Safe movement on ice and wet surfaces - shorter steps, slower pace, hands free for balance
- What to do when they see an IceAlert® sign that’s turned blue
The goal is a team that responds to changing conditions, not one that reports incidents after the fact.
5. Address Indoor Hazards
Winter doesn’t stop at the door. Every person who walks in from a wet or icy exterior brings the hazard inside with them.
- Install heavy-duty floor mats at every entrance and replace them when saturated
- Post wet floor signs during high-traffic arrival windows
- Increase cleaning frequency at entry points throughout the day
- Check that entrance lighting is adequate for early morning and after-dark hours
Indoor slip-and-fall claims are just as costly as outdoor ones and often harder to defend - there’s no weather to point to.
6. Document Everything
Your safety program only protects you if you can prove it existed. Documentation is what separates a defensible incident from a settled claim.
- Photograph installed IceAlert® signs at every location with timestamps
- Keep a dated log of snow removal, ice treatment, and surface inspections
- Record employee safety training with signatures and dates
- Note any conditions that were flagged and how they were addressed
If a claim is filed in February, your October documentation is what you’re defending yourself with.
7. Run Routine Mid-Season Inspections
Winter safety isn’t a one-time checklist - it’s an ongoing program. Build brief walkthroughs into your routine:
- Verify IceAlert® signs are visible and unobstructed
- Confirm ice melt supplies are adequately stocked
- Walk high-traffic exterior areas at the start of each shift
- Check that indoor entry mats are in place and functioning
Ten minutes at the start of a shift is a fraction of the time it takes to manage a workers’ comp claim.
Prepared Facilities Don’t React - They Warn
The difference between a slip-and-fall claim and a near-miss is usually one thing: whether someone saw the hazard in time. A well-prepared facility closes that gap with visible warnings, documented protocols, and a team that knows what to look for.
If you haven’t assessed your facility’s winter coverage yet, start with our free Site Design Tool - it takes about two minutes and gives you a starting point for exactly where signs belong on your property.